

Step 4 - Deploying to the Edge
In this guide we'll show you how to deploy your gateway to the edge, at over 300 data-centers around the world. The act of deployment creates new environments and it's worth familiarizing yourself with how environments work.
In this tutorial we'll show the default workflow via GitHub, but note that we also support GitLab, BitBucket (enterprise plan only) and custom CI/CD.
To follow this tutorial you'll need
- a GitHub account (it's free, sign up at github.com).
- a zuplo project - complete Step 1, Step 2 and Step 3 for a great start!
- to install the Zuplo GitHub deployment to GitHub - you can follow these instructions
Let's get started:
-
Authorize to GitHub
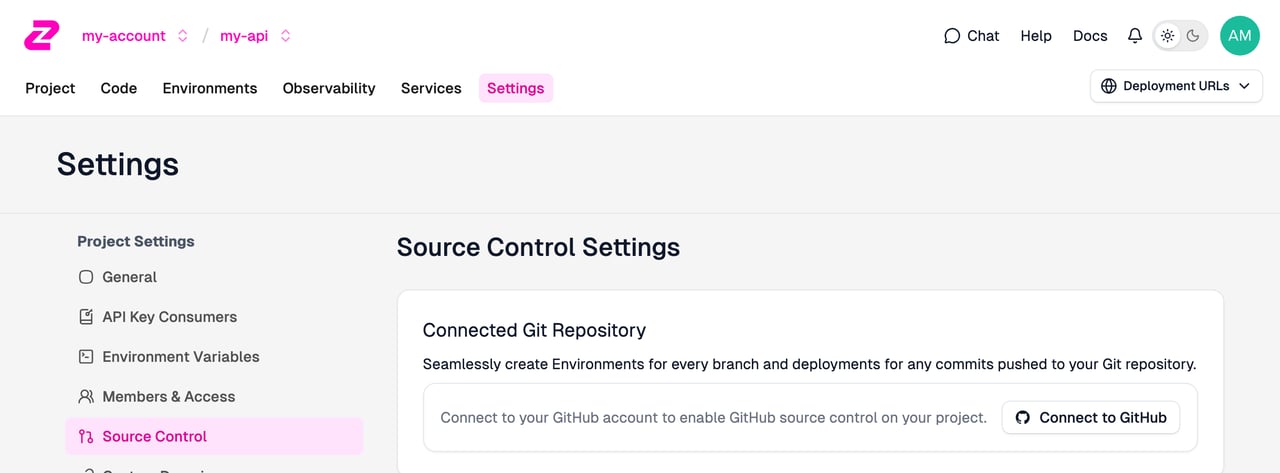
Next, open your project settings in the Zuplo Portal, then select Source Control. If your project isn't already connected to GitHub click the Connect to GitHub button and follow the auth flow. You'll need to grant permissions for any GitHub organizations you want to work with.
Next, a dialog will open asking you to authorize Zuplo. Click the Authorize Zuplo button.
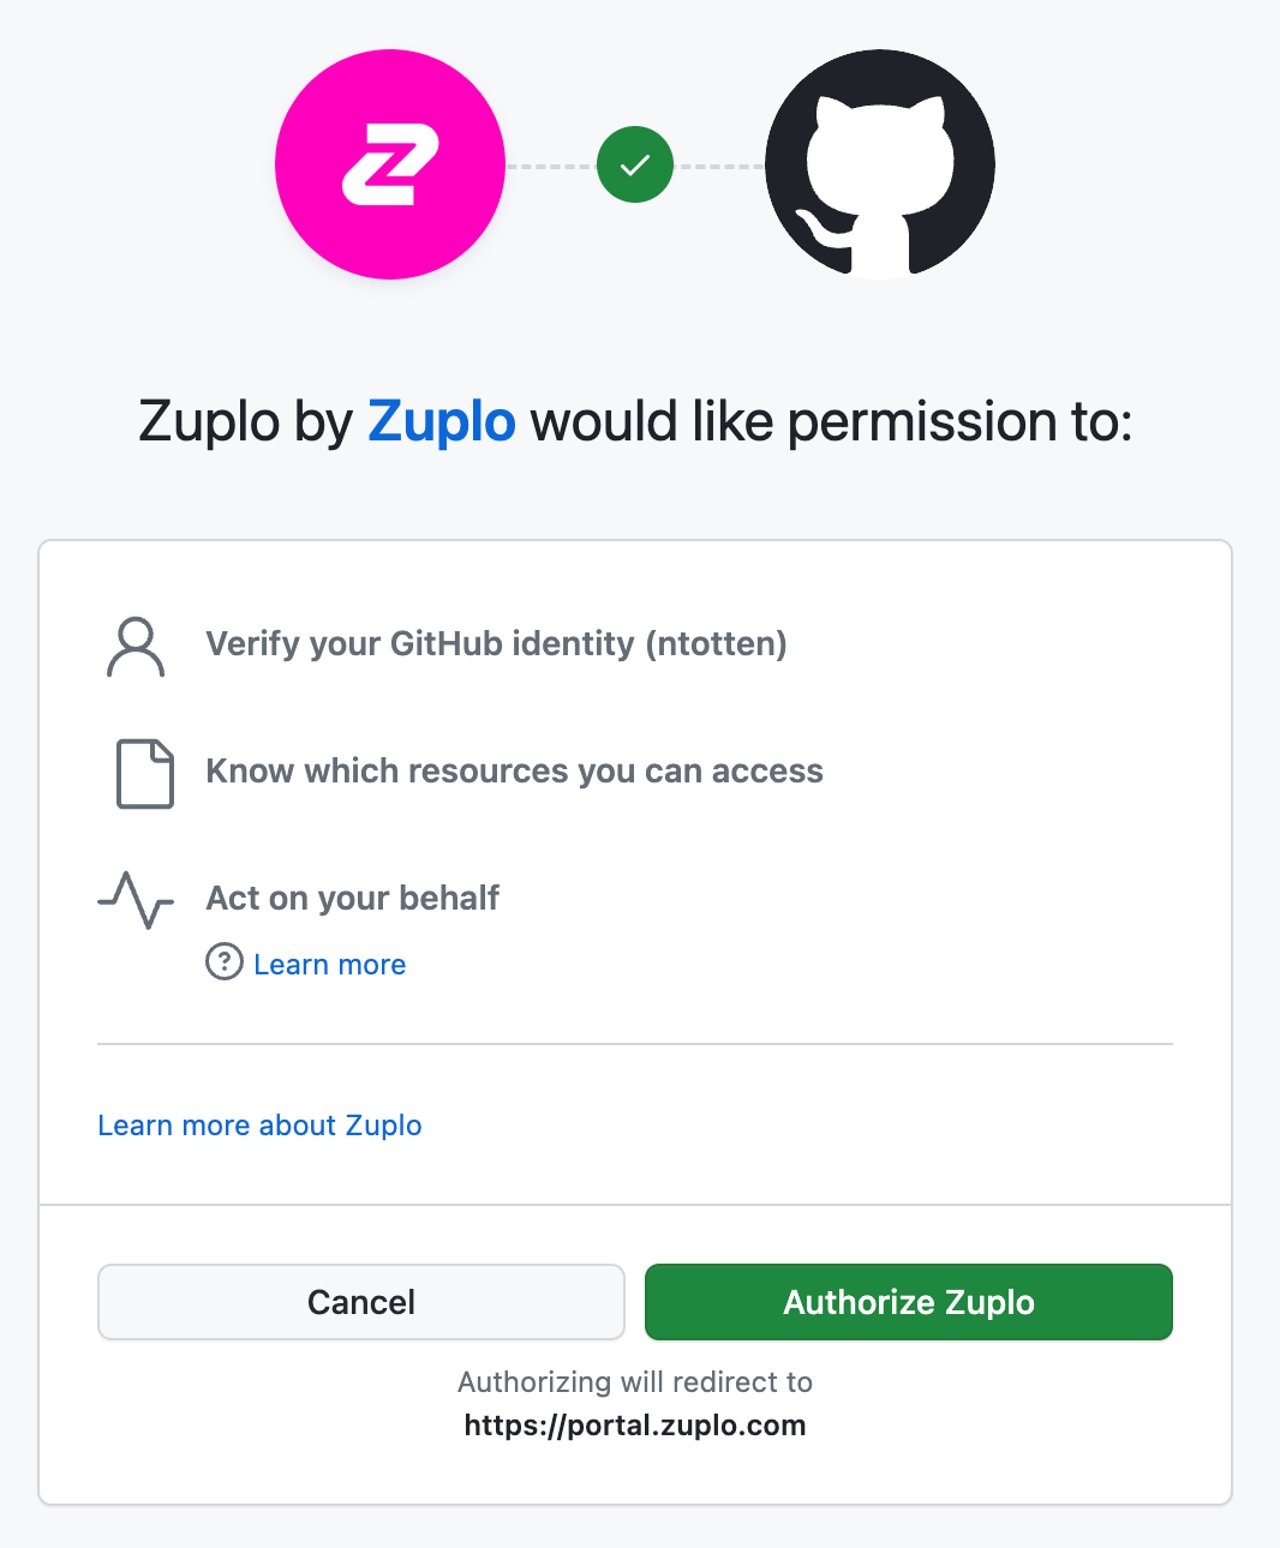
GitHub Permissions
The permission "Act on your behalf" sounds a bit scary - however, this is a standard GitHub permission and by default Zuplo can't actually do anything with this. In order to perform actions on your behalf you must grant Zuplo access to a specific repository (shown in the next steps.).
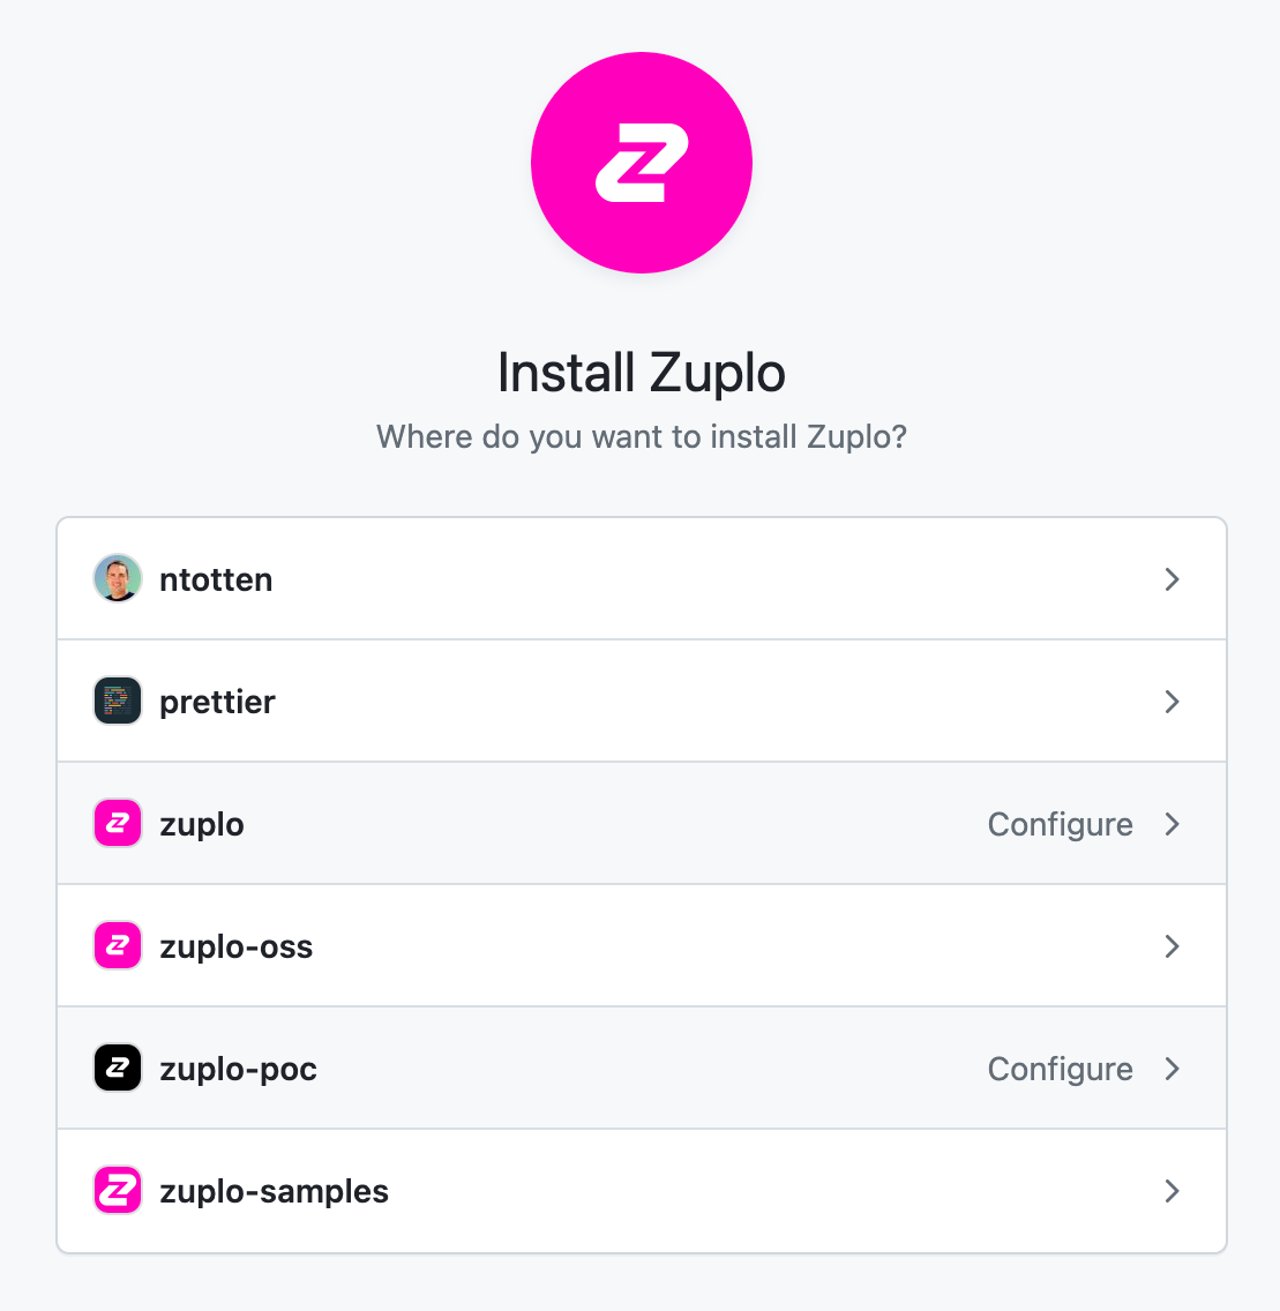
After you have connected the GitHub app, it needs to be granted permission to edit a repository. If this is your first time connecting Zuplo, you will be immediately asked to select a GitHub Org to install Zuplo. Select the org you want to use.
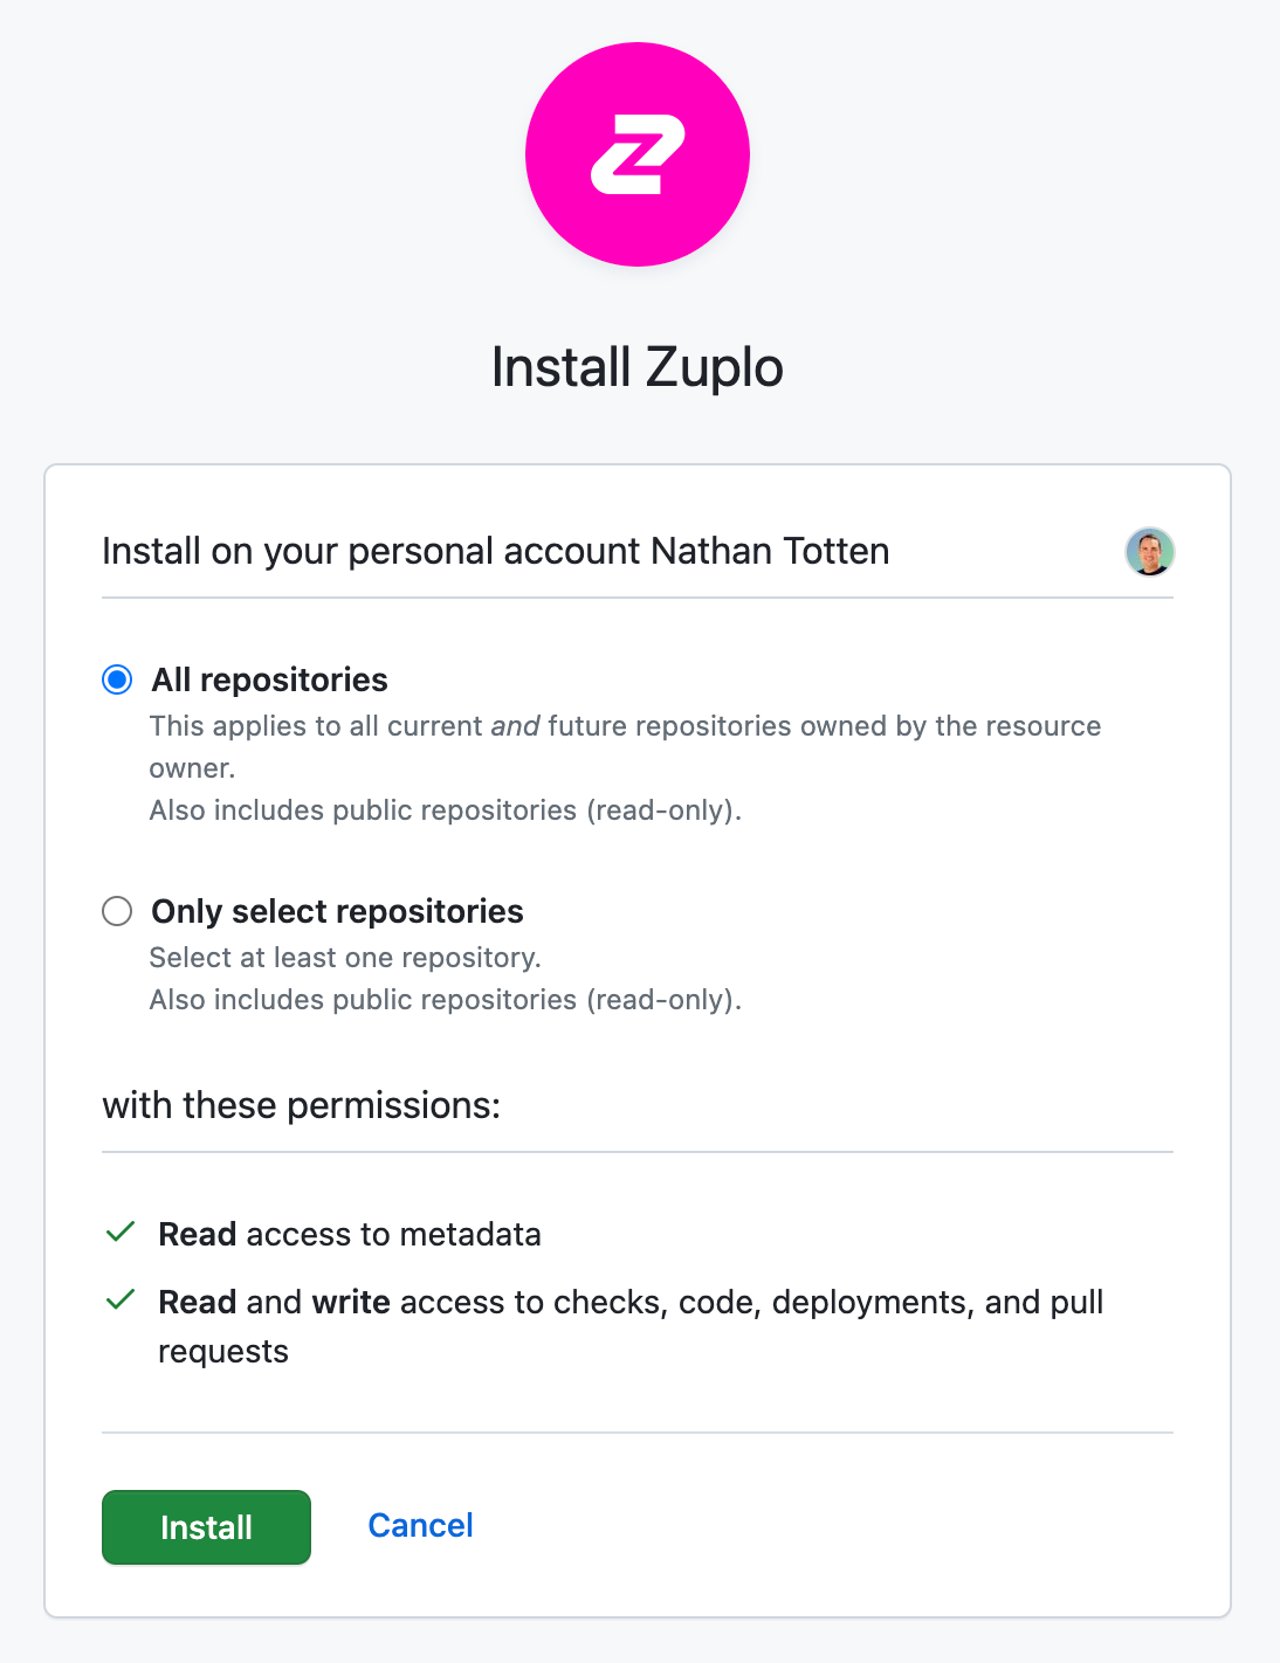
Next, you will be asked to select the repositories that you want Zuplo to access. The easiest thing is to just select All Repositories, but if you want fine-grain control, you can select a specific repository.
Existing Installation
The next step is only if you already have Zuplo installed in a GitHub org and need to add another organization.
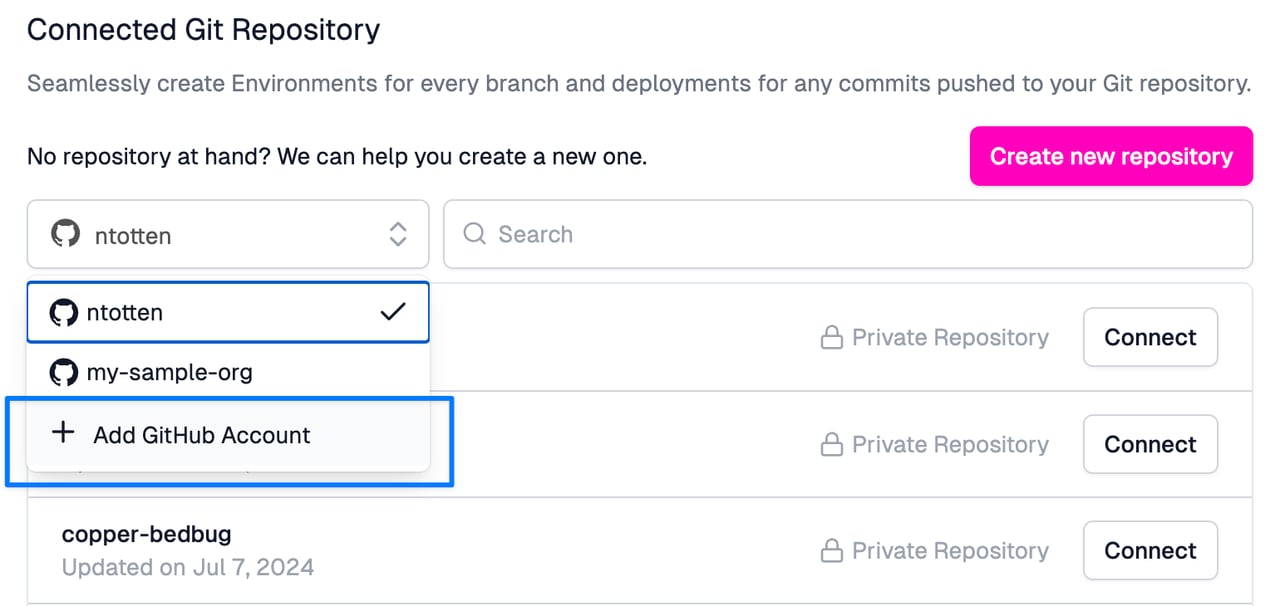
If you weren't prompted to select a GitHub org, it's likely that you are already a member of an account that has authorized Zuplo. To add Zuplo to a new organization click Add GitHub Account in the org picker list.
-
Connect GitHub to your Project
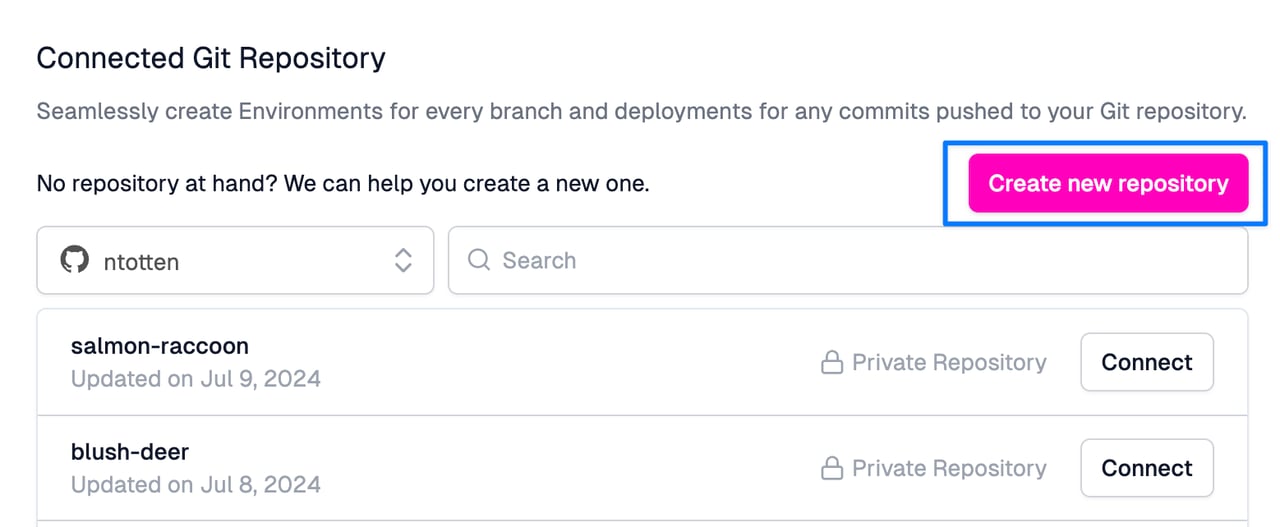
With your GitHub App configured, you can now return to the Zuplo portal. In the Source Control settings you should now see a list of GitHub repositories. Create a new repository by clicking the Create new repository button. You will be prompted that this will open GitHub. Click to continue.
In the GitHub UI, you can rename your repository if you want. Click the Create repository button at the bottom of the page and return to the Zuplo Portal.
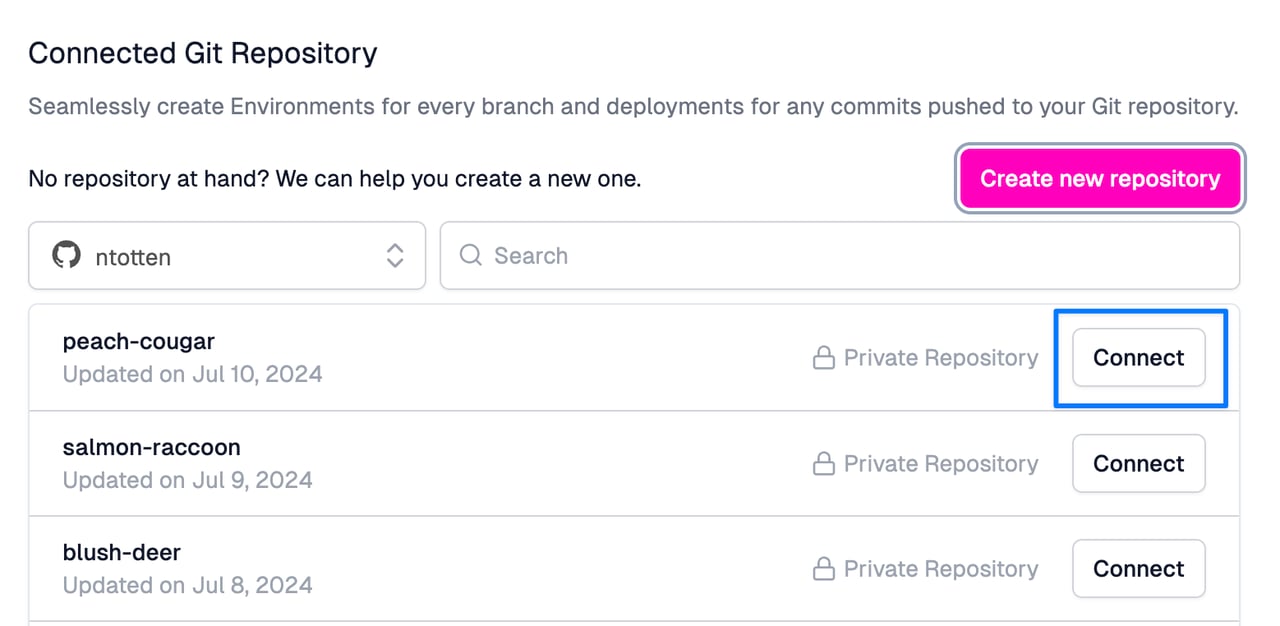
The portal will reload and you will see your new repository listed. Click Connect to connect Zuplo to that repository.
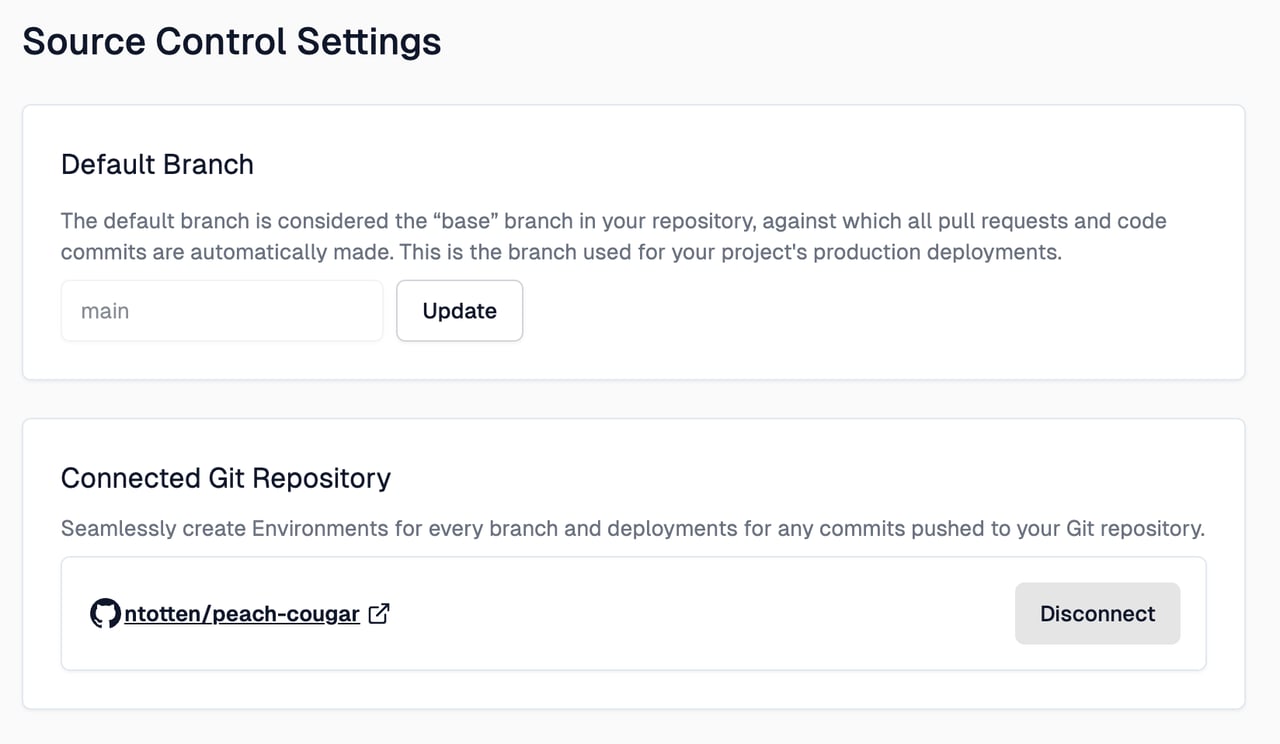
After the connection succeeds you will see a link to your GitHub repository.
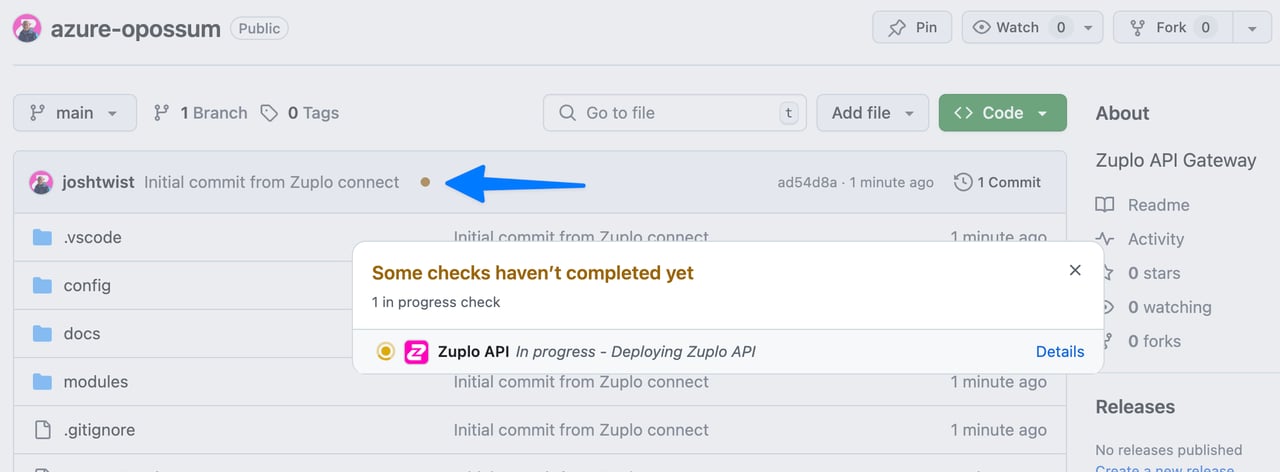
Click the link to return to GitHub. You should see a little brown dot next to the commit hash (1). When you hover your mouse over that you'll see the Zuplo deployment was successful. Click Details (2) to open the deployment info.
This shows that your deployment is in progress, it will take about 50 seconds.
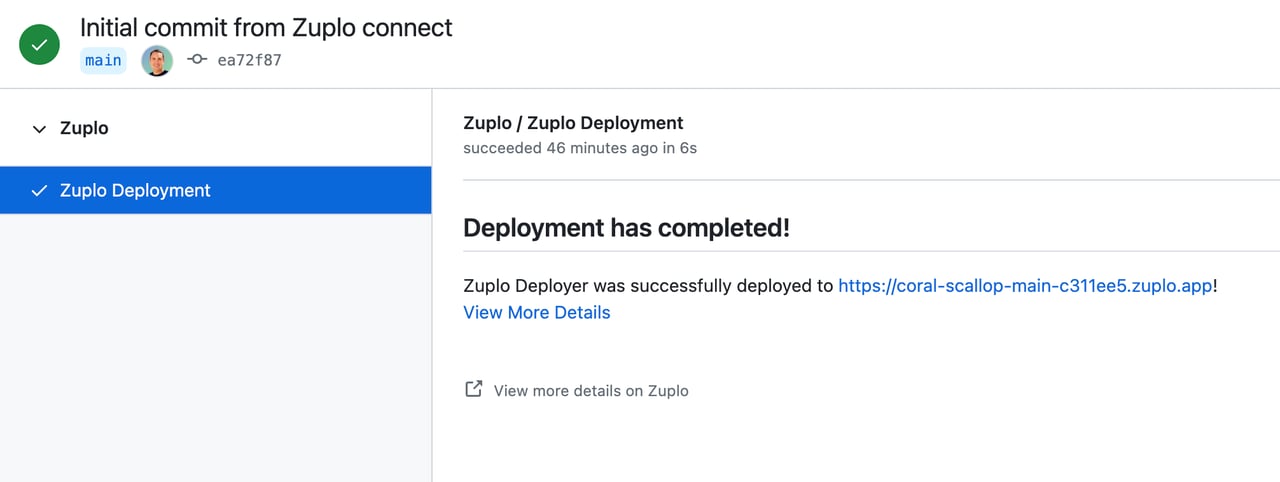
On the deployment page, you will see Deployment has Completed!! and below that's the link to your new environment.
-
Deploy another Environment
Zuplo makes it easy for teams to collaborate by allowing teams to create many preview environments. To create a new environment, simply go to your repository in GitHub and create a new branch.
Let's create a branch called
development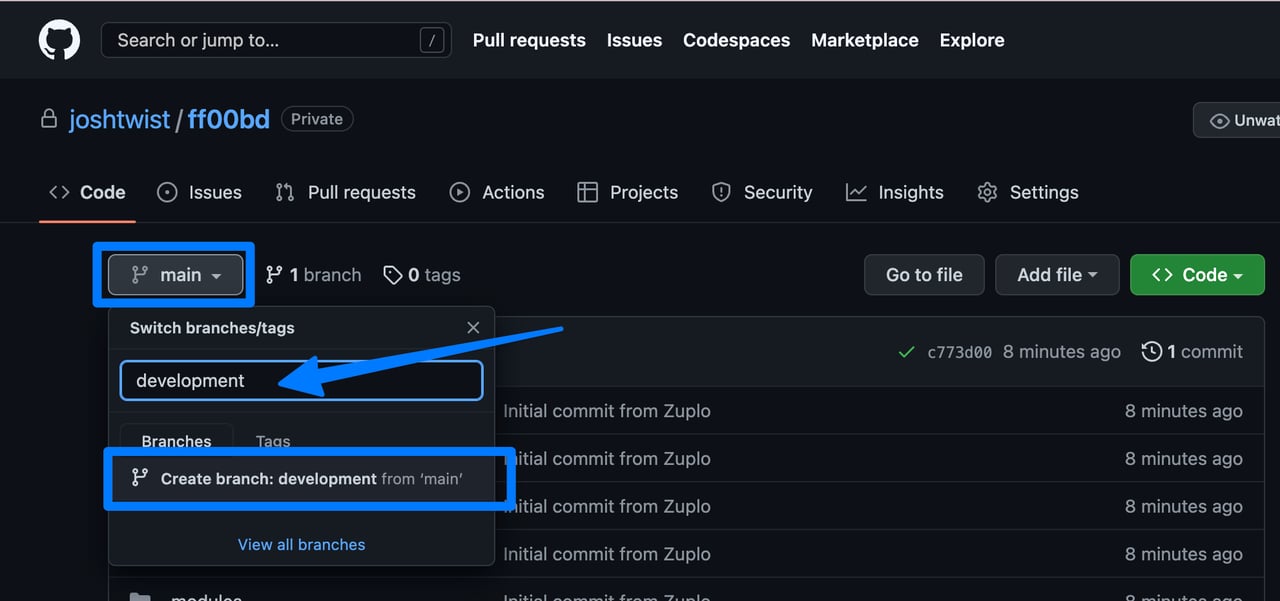
Wait about 20s and head back to Zuplo - you should see a new entry in the environment dropdown called
development. -
Push a Change to 'development'
Let's make a simple change to our
working-copyenvironment. Let's do something simple like capitalize the Summary field from 'Get all todos' to 'Get All Todos'. It doesn't really matter what the change is.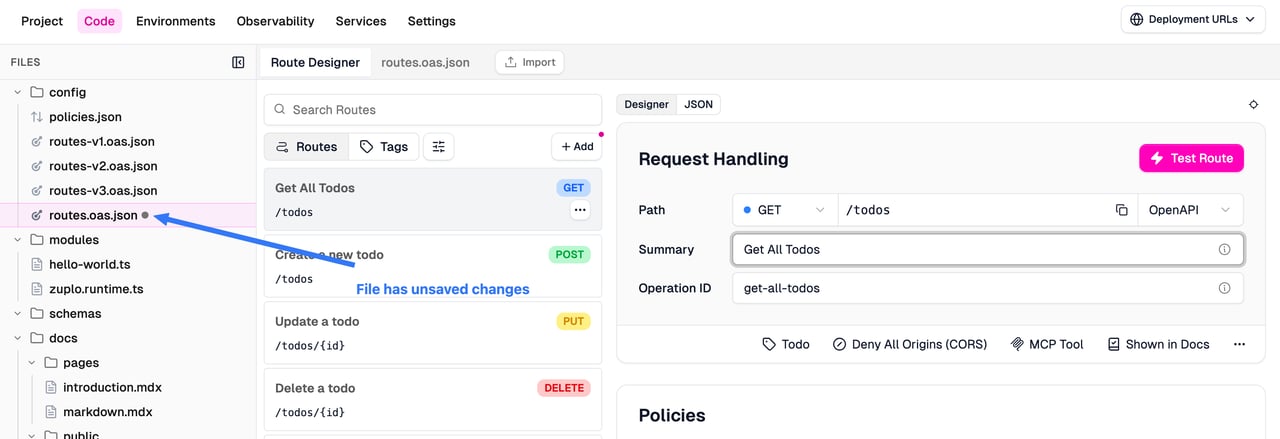
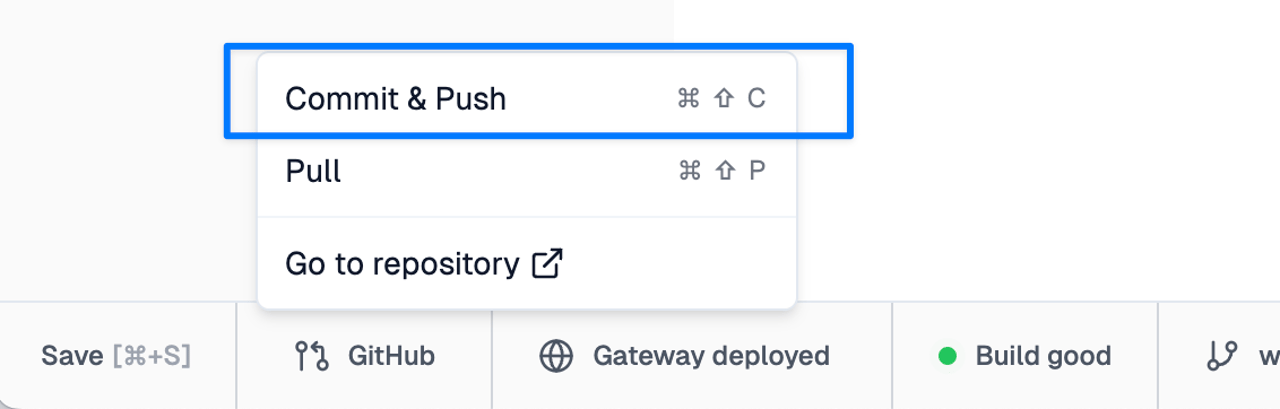
Save your changes. Click the GitHub button at bottom left and choose Commit & Push.
Enter a description of your change in the dialog that pops up:

Click Commit & Push will create a new temporary branch in GitHub with a name
zup-.... On the next dialog, click Create Pull Request.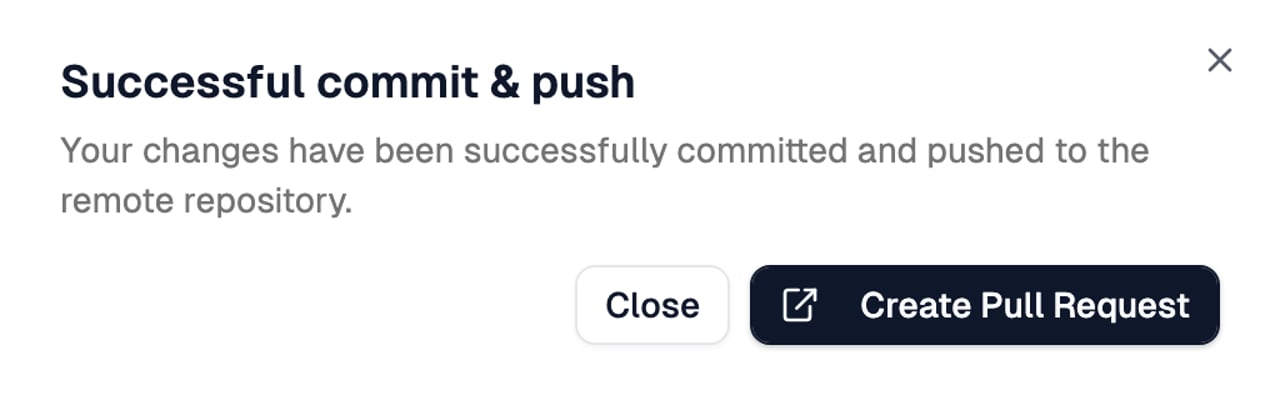
This will navigate you to the screen in GitHub that allows you to create a Pull Request. Change the base branch to
development(since that's the environment we want to update first). Click Create pull request.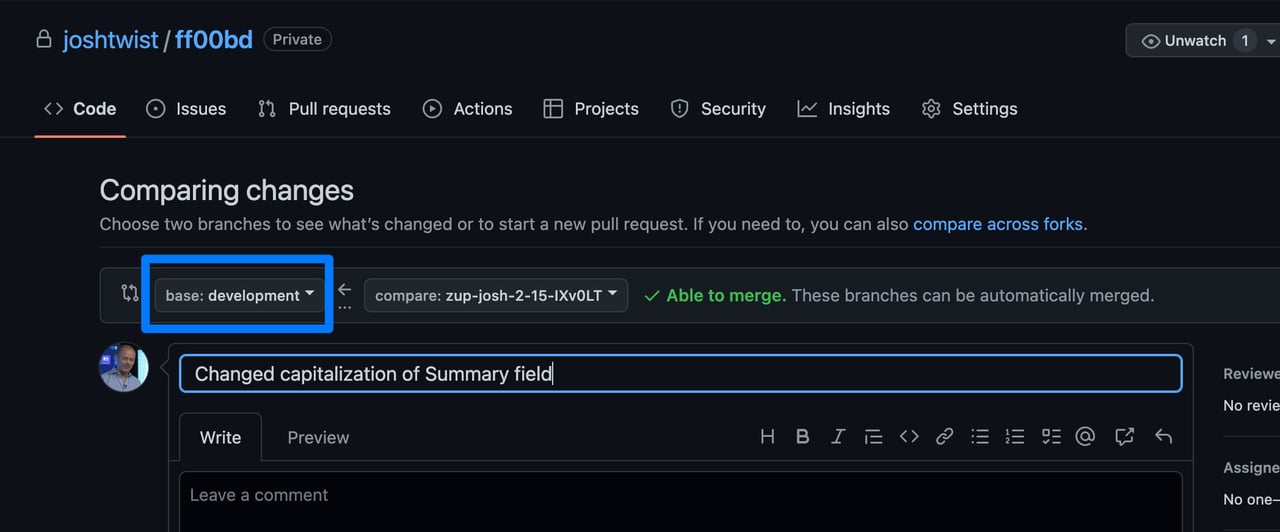
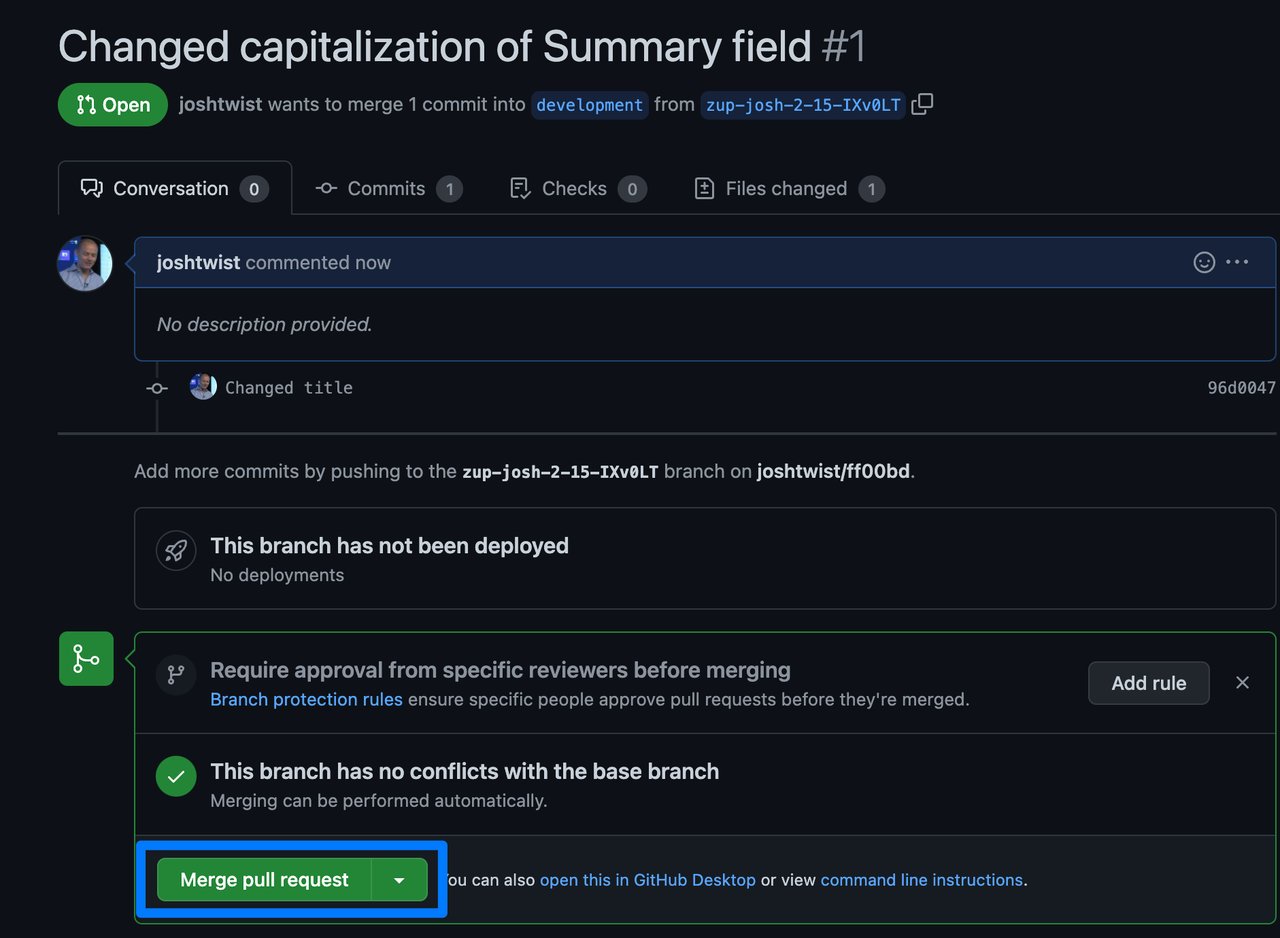
When ready, click Merge pull request.
Once merged, you'll want to delete that temporary branch.

The successful merge will trigger a rebuild and deployment of
developmentwith your change. You can check this by choosing the environmentdevelopmentin Zuplo and navigating to the read only Route Designer.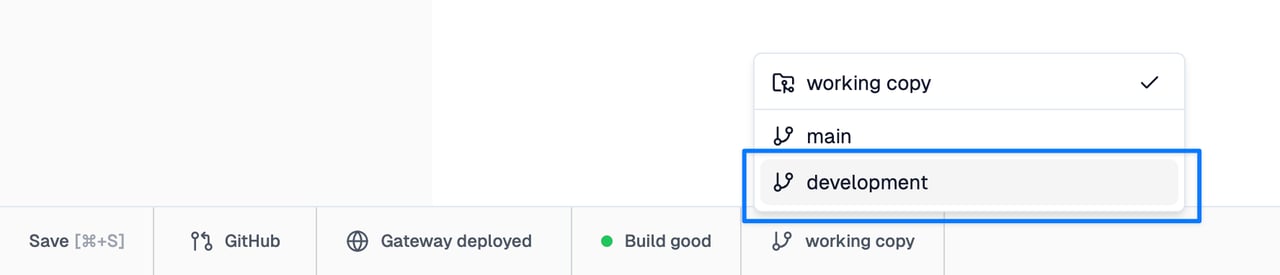
This shows how you can use widely recognized GitOps practices to manage how code flows through your environments using Pull Requests and protected branches.
Troubleshooting
I don't see my repository listed in Zuplo project settings.
- Make sure you've granted access to the project with the Zuplo GitHub App, you can check that configuration here
I've connected my Zuplo project to a GitHub repository but get access errors when running commits, pulls or try to open a pull request.
- If you are the owner of the project, make sure you've granted access to the project with the Zuplo GitHub App, you can check that configuration here
- If this Zuplo project was shared with you, make sure you are a GitHub collaborator. This can be verified by going to the GitHub repository > Settings > Collaborators section. You'll need admin permissions to the repository.
- If the GitHub repository has been renamed or moved to a different organization, try disconnecting and reconnecting to it. You can do this by going to your Zuplo project's settings > Source Control section