
ZuploZuplo
LoginStart for Free
  • Documentation
  • API Reference
Getting Started
Concepts
API Management
AI Gateway
MCP Gateway
MCP Server
Developer Portal
    Overview
    Getting Started
      Updating VersionsNode Modules & CustomizationZuplo Branding
      Configuration
      Writing
      OpenAPI
      Authentication
      Integrations
      Guides
        Static FilesEnvironment VariablesCustom pagesMermaid DiagramsMultiple APIsNavigation RulesRedirectsTransforming Operation ExamplesSchema ProcessorsCustom API IdentitiesCreate API Key on AuthDocumenting MCP ServersServer-Side RenderingExample: Rick and Morty API
      Extending
      Components
    Development
    Deploying & Source Control
    Analytics
    Observability
    Networking & Infrastructure
    Account Management
    Programming API
    Build with AI
    Zuplo CLI
    Migration Guides
    Platform LimitsVersion Support PolicySecuritySupportTrust & ComplianceChangelog
    powered by Zuplo
    Guides

    Create an API Key Consumer on Login

    By default, users who log into your Zuplo powered Developer Portal won't have an API Consumer. This is by design as it allows you to control who has access to your API, what their permissions or quotas are, etc. However, some APIs are open to any user who can login. This might mean you let anyone login and create an account or it might mean you use authorization policies with your identity provider to control who can access the portal.

    This article explains how to use Auth0 actions to automatically create an API Key Consumer for your users when they sign into your developer portal.

    You don't need to set this up if using the built-in Zuplo monetization feature. We do this all for you in that flow.

    Before you begin, you will need to set up custom authentication for the developer portal - you can't use the built-in "demo" provider for this tutorial.

    To begin, open the Auth0 management portal and navigate to Actions > Library. Then click the button Build Custom.

    Set a name for your custom action and select the Login / Post Login trigger. Select Node.js version 16 or greater.
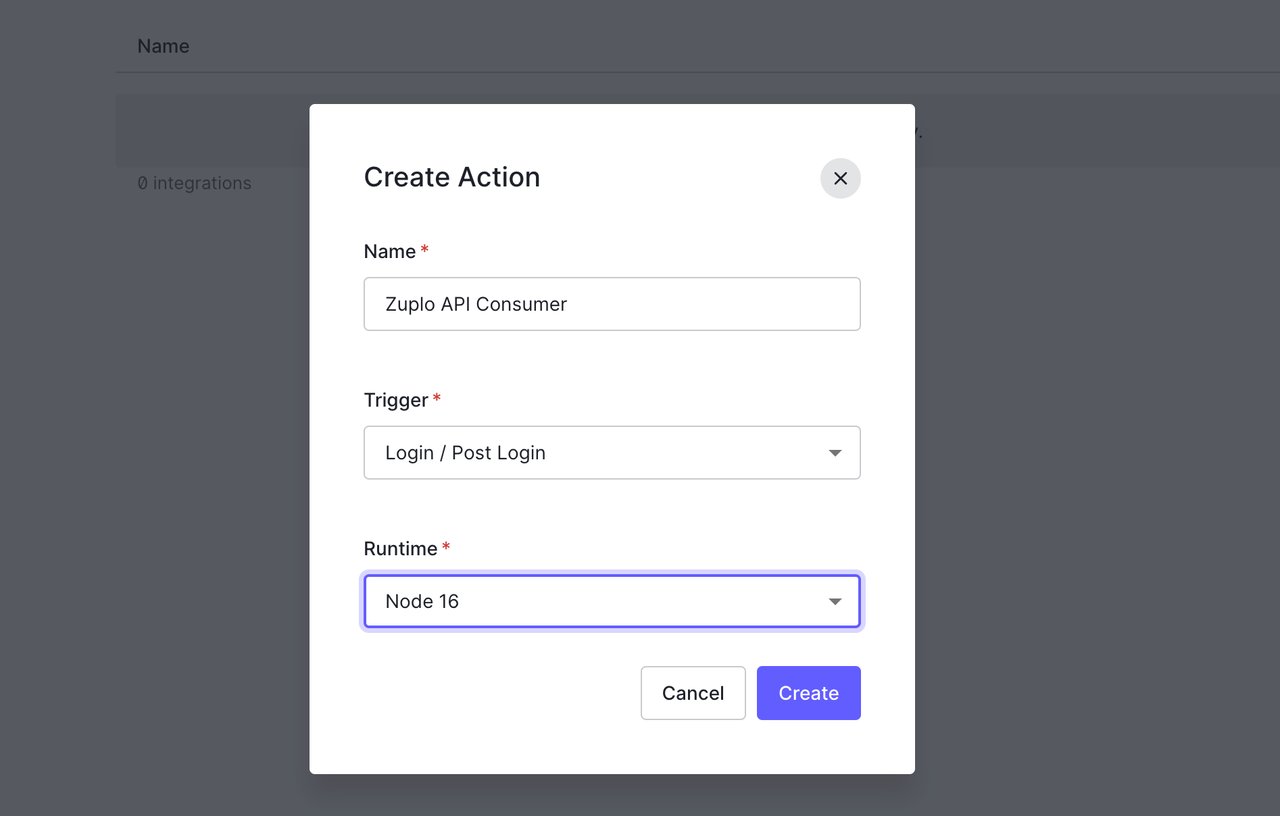
    Create an action

    Next, add the Node module undici as a package to the custom action. To open the module editor click the box icon on the side bar, then click Add Dependency. Enter the name undici and a specific version of the module, in this case 5.22.1. Click Create when finished.
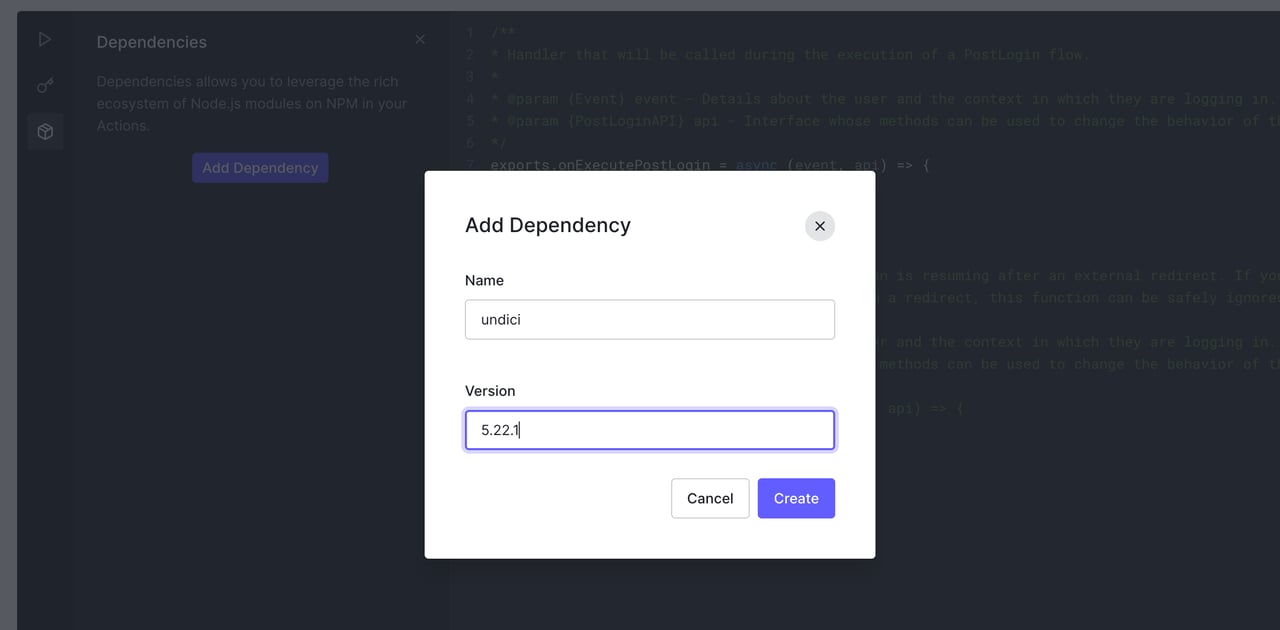
    Add dependency

    In order to authenticate to Zuplo's Developer API, you will need to get your API Key. See Account API Keys for instructions on finding your API Key. Once you have retrieved your secret, click the key icon on the Auth0 editor sidebar and click Add Secret. Name the secret API_KEY and set the value.
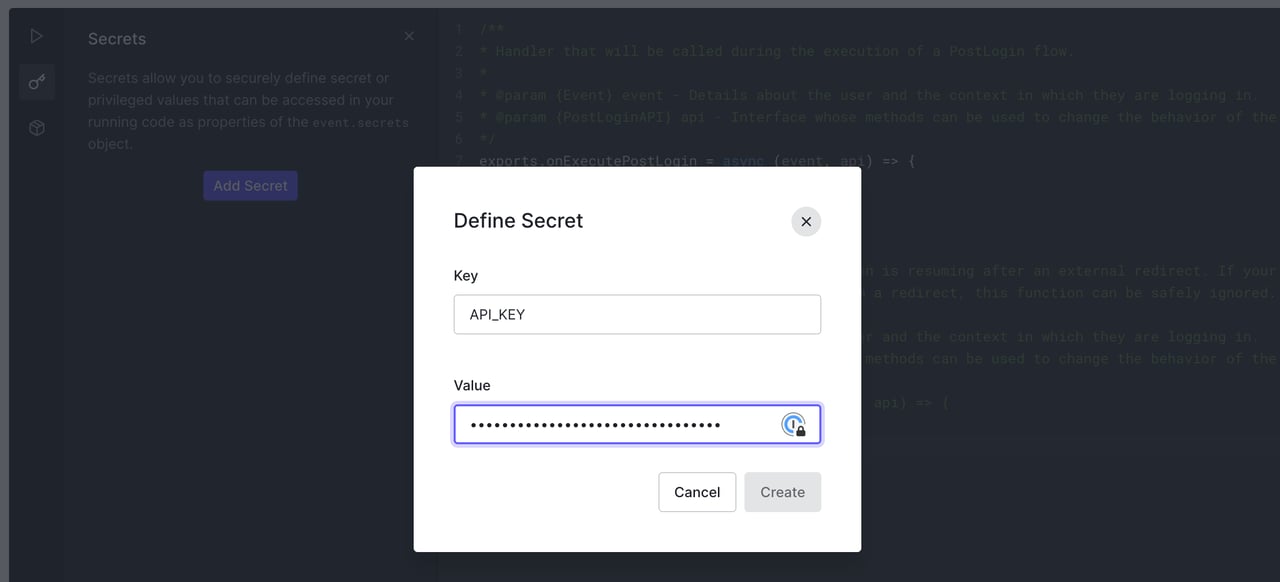
    Define a secret

    In the code below set the variable API_KEY_BUCKET_ID to the ID of the bucket being used by your Zuplo Gateway. Copy it from the Bucket ID pill on your project's Services → API Keys → Consumers page, or list your buckets using the Developer API. For more information, see Bucket identifiers.

    Next, add the following code to your custom action. Be sure to replace the placeholder values with your actual account name and bucket ID. Click the Deploy button when you are finished.

    Code
    const { fetch } = require("undici"); const { randomUUID } = require("crypto"); const ZUPLO_ACCOUNT = "my-zuplo-account"; const API_KEY_BUCKET_ID = "bckt_2HaK3odRyJle6NJSu8mzNKBC30BYxllxL"; /** * Handler that will be called during the execution of a PostLogin flow. * * @param {Event} event - Details about the user and the context in which they are logging in. * @param {PostLoginAPI} api - Interface whose methods can be used to change the behavior of the login. */ exports.onExecutePostLogin = async (event, api) => { if (event.user.app_metadata.api_consumer) { console.log( `Skipping creating of API consumer. Already exists: ${event.user.app_metadata.api_consumer}`, ); return; } const body = { description: `Consumer for ${event.user.name}`, managers: [event.user.email], metadata: { // Any metadata here user_id: event.user.user_id, }, name: `c-${randomUUID()}`, }; try { // Create the consumer const response = await fetch( `https://dev.zuplo.com/v1/accounts/${ZUPLO_ACCOUNT}/key-buckets/${API_KEY_BUCKET_ID}/consumers?with-api-key=true`, { method: "POST", body: JSON.stringify(body), headers: { Authorization: `Bearer ${event.secrets.API_KEY}`, "content-type": "application/json", }, }, ); const result = await response.json(); if (response.status !== 200) { console.error(result); throw new Error("Error creating API consumer"); } // Set the consumer in the user's metadata api.user.setAppMetadata("api_consumer", result.id); } catch (err) { // Catching error to not block the user's login to the portal console.error(err); } };

    Last, on the Auth0 side navigation bar, open Actions > Flows, then select Login. Add the action to the workflow by selecting Custom and dragging your custom action to the flow and then click Apply.
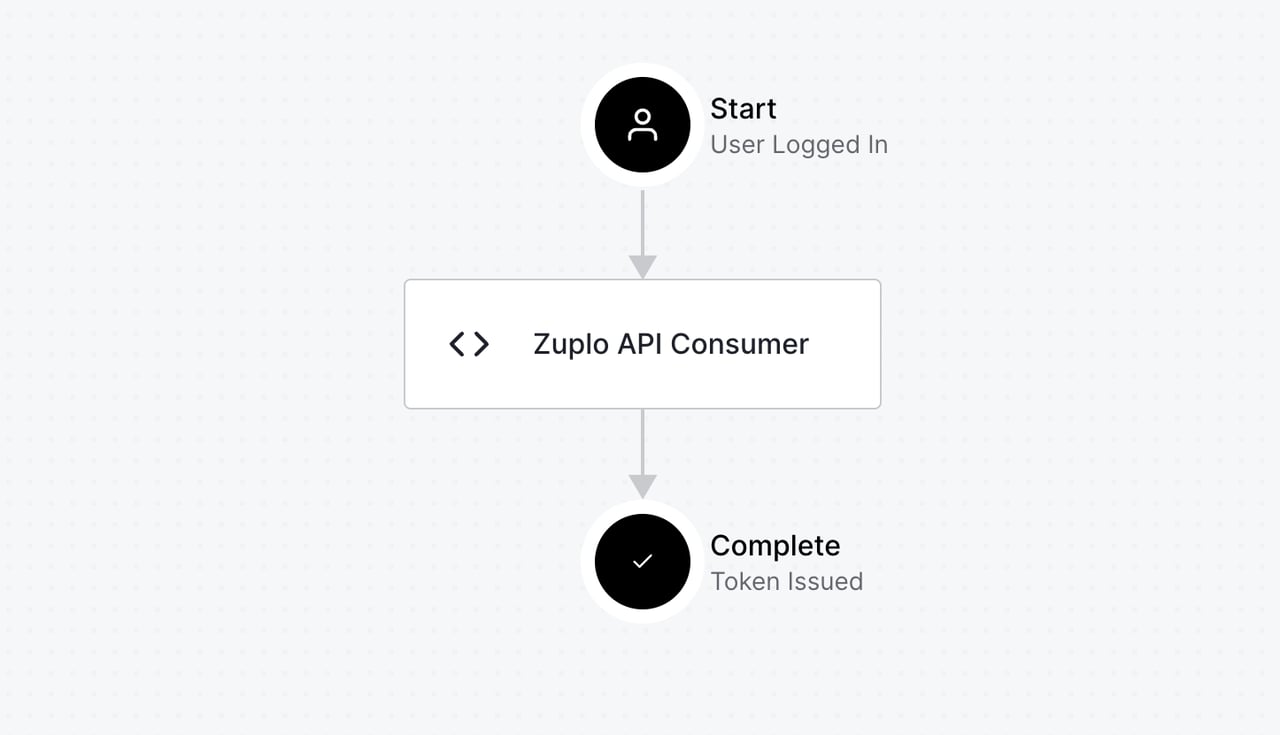
    Applying the action

    Now, login to your developer portal with a new user and you will see a consumer has already been created.

    Edit this page
    Last modified on September 1, 2026
    Custom API IdentitiesDocumenting MCP Servers
    TypeScript