Rate limiting is a great way to protect your API from abuse and control the number of requests every user can make to your API as well as a good strategy to controlling your costs when using AI models in your API.
Rate limiting can even become part of your API monetization strategy, where you can charge users based on the amount of requests they can make to your API in a given period of time.
For all these varied use cases, an API Gateway, like Zuplo, is usually the right place to implement any API operational logic, including rate limiting or caching. This is because the API Gateway is the main entry point for all your APIs and backends.
In this walkthrough, we’ll deploy a single path API that uses the OpenAI API to generate text, and we’ll add rate limiting to it.
Step 1 - Create a new Zuplo project
Sign up to Zuplo and create a new empty project.
Step 2 - Add a module that uses the OpenAI API
In your project, go to Files and under Modules create a new
Request Handler and call it generate.ts.
This is the code that will be executed when a request comes to your API. You could also have your own server running and connect it to Zuplo, but for this tutorial we can leverage Zuplo’s programmability to create a simple API.
Open the newly created file and in the code editor, paste the following code replacing everything that’s in the file:
Now click on Save All at the bottom of the page.
Step 3 - Configure environment variables
In the code, you’ll notice that we’re using an environment variable called
OPENAI_API_KEY, this is where you’ll need to add your OpenAI API key.
To do that, go to Project Settings > Environment Variables and add a new
variable OPENAI_API_KEY with your OpenAI API key as the value (you can mark it
as secret).
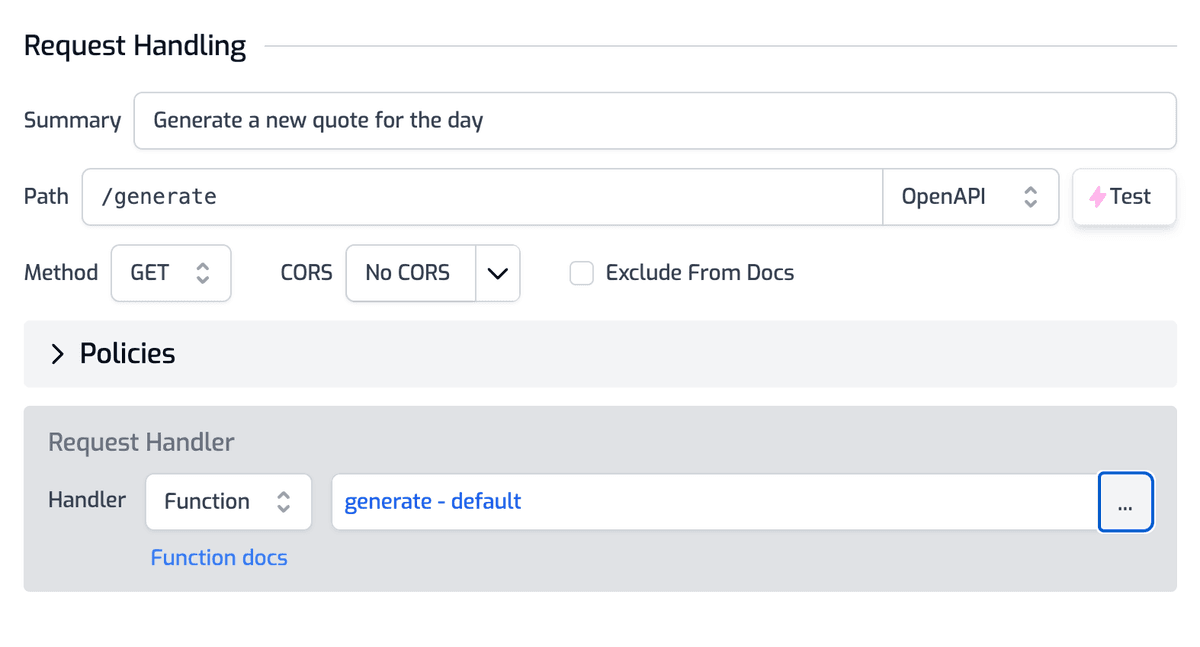
Step 4 - Create a route in your API
We will now create an API route that will use the module we just created to
generate a quote, the endpoint will be /generate and receives a GET request.
Click on File > routes.oas.json > Add Route. Configure the route as follows:
In the Request handler section, select the module you created in the previous step, note that this will be of type Function.
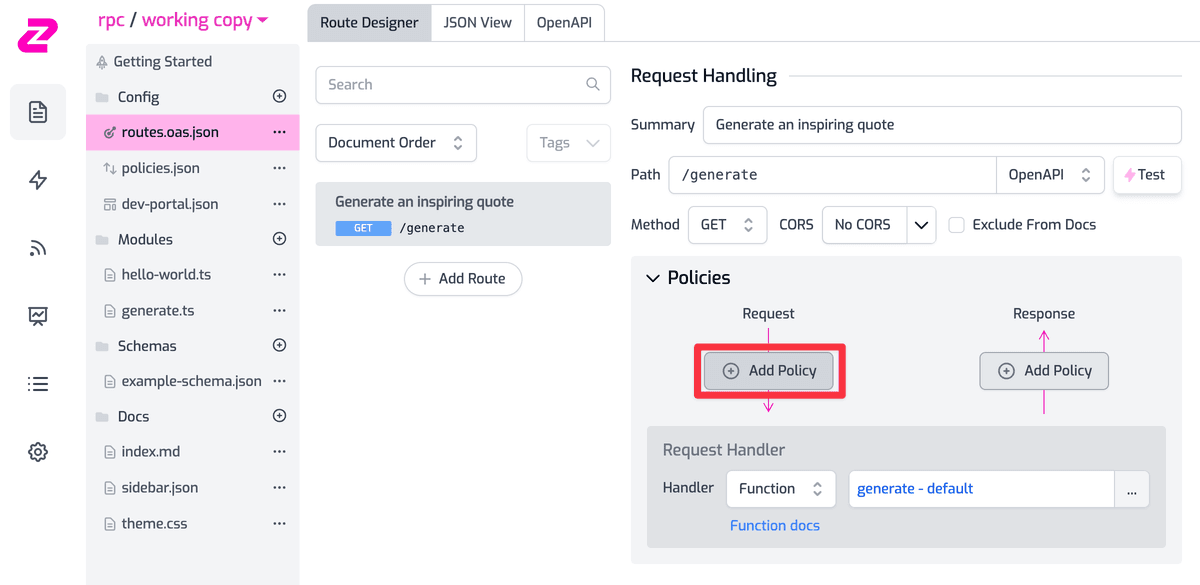
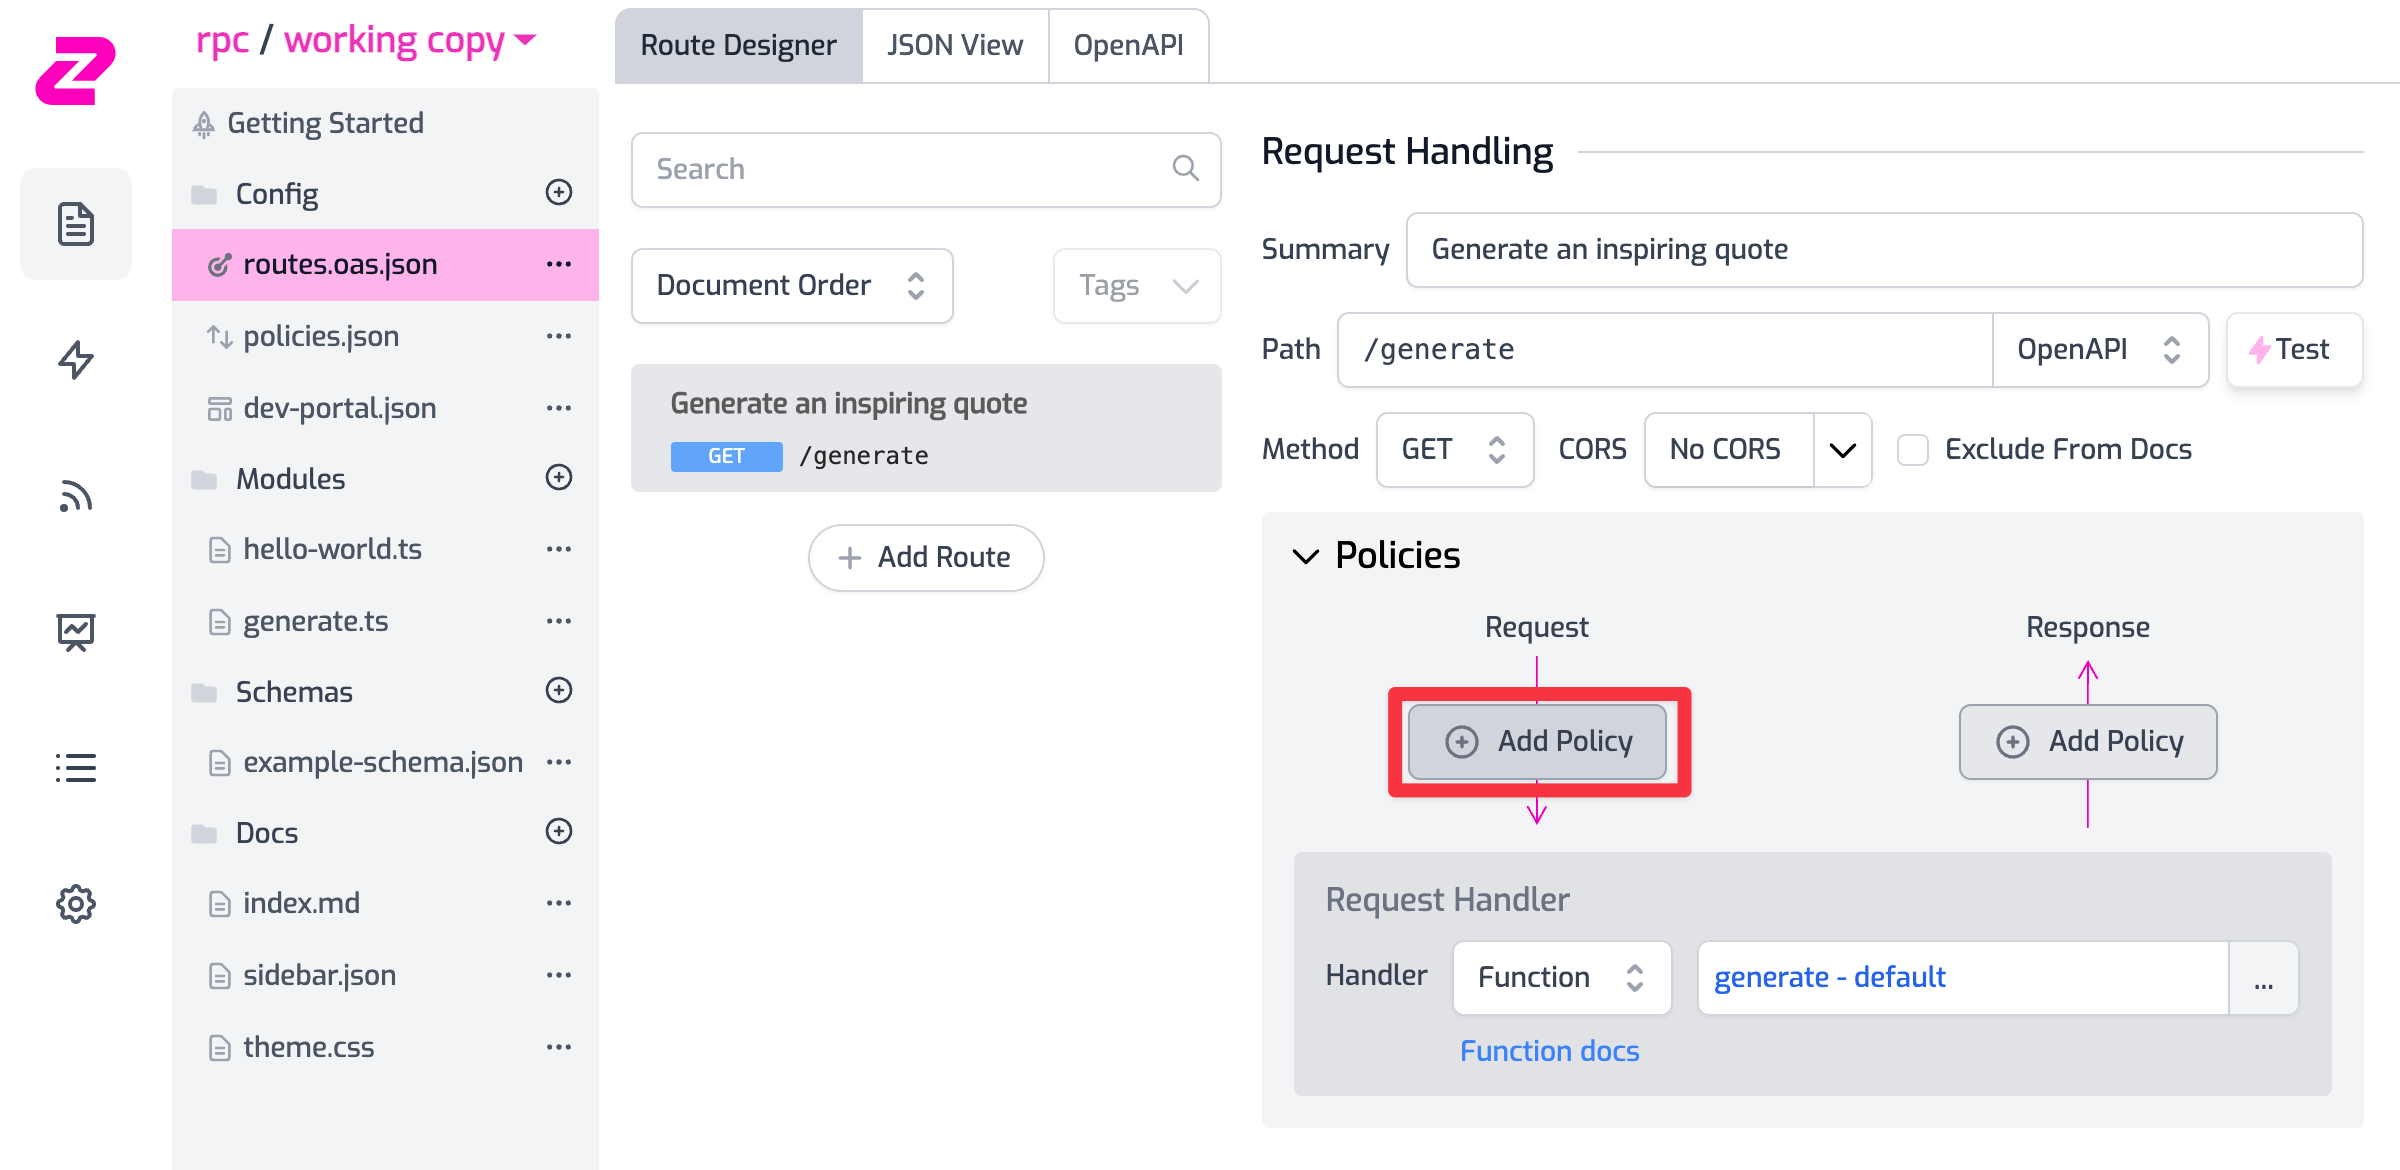
Step 5 - Adding rate limiting policy
Now that we have a route, we can add a rate limiting policy to it. Click on Add Policy and select rate-limit-inbound.
For the purpose of this tutorial, we’ll use the default rate limiting policy which rate limits by IP address. This is usually not a good idea as it’s easy to bypass by using a VPN or a proxy. In a real-world scenario, you’d want to use rate-limiting by authenticated users (e.g. API keys) or using a custom function that can rate limit by any criteria you want.
Save the policy with the default configuration of 2 requests/minute per IP address and finally click on Save All.
Step 6 - Test your API
Open the Test Console by clicking on the route you just created, and hit Test.
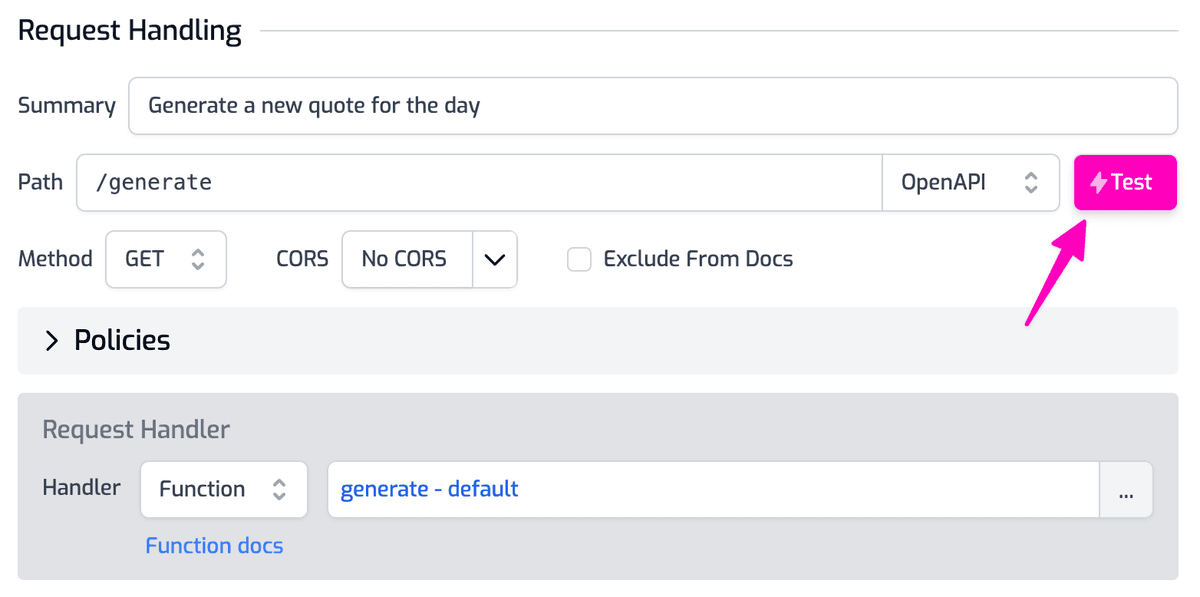
After three requests, you should see a response like this which indicates that you’ve reached the rate limit:
Conclusion
That easy! You’ve now added rate limiting to your API and you can now control the number of requests your users can make to your API.
Explore the policies you can add to your API using Zuplo, and the out-of-the-box API documentation you get for free, all without writing a single line of code.
As always, we’re here to help you build your next API, so if you have any questions, feel free to reach out to us on our Discord server, or dropping us a tweet at https://twitter.com/zuplo.