

Getting Started with Developer Portal - Portal
Developer Portal tutorialZuplo Portal
Create a developer portal for a sample API, then sign in and test a request with an assigned API key.
Follow along using
Publish API documentation and let developers manage their assigned API keys. You'll create a Todo API, customize its developer portal, and make an authenticated request from the portal's playground.
Prerequisites
- A Zuplo account.
- An email address you can use to sign in to the developer portal.
Build and test your developer portal
-
Create a project and sample API
Open Projects, click New Project, and select API & MCP Gateway. Name it
my-dev-portaland click Create Project.In Code → config/routes.oas.json, select Start with Example API, then Complete Import. The Route Designer now lists the Todo API routes. Your project also includes a
docsdirectory for the developer portal. -
Customize the portal
In the Code file tree, open
docs/zudoku.config.tsx. Setsite.titleandmetadata.titletoTodo Developer Portal, and setmetadata.descriptiontoExplore the Todo API and manage your API keys.Keep the other settings, includingapis,authentication, andapiKeys.The
apisconfiguration reads../config/routes.oas.jsonand displays it at/api. Editing your routes updates the API reference.Open
docs/pages/introduction.mdxand replace its contents with:docs/pages/introduction.mdxSave the changes. The introduction already has a navigation entry. See Writing content for more options.
-
Protect the sample route
Open
config/routes.oas.jsonin the Route Designer and select List todos (GET /todos). Open Policies → Add Policy, search for API Key Authentication, and accept its default configuration.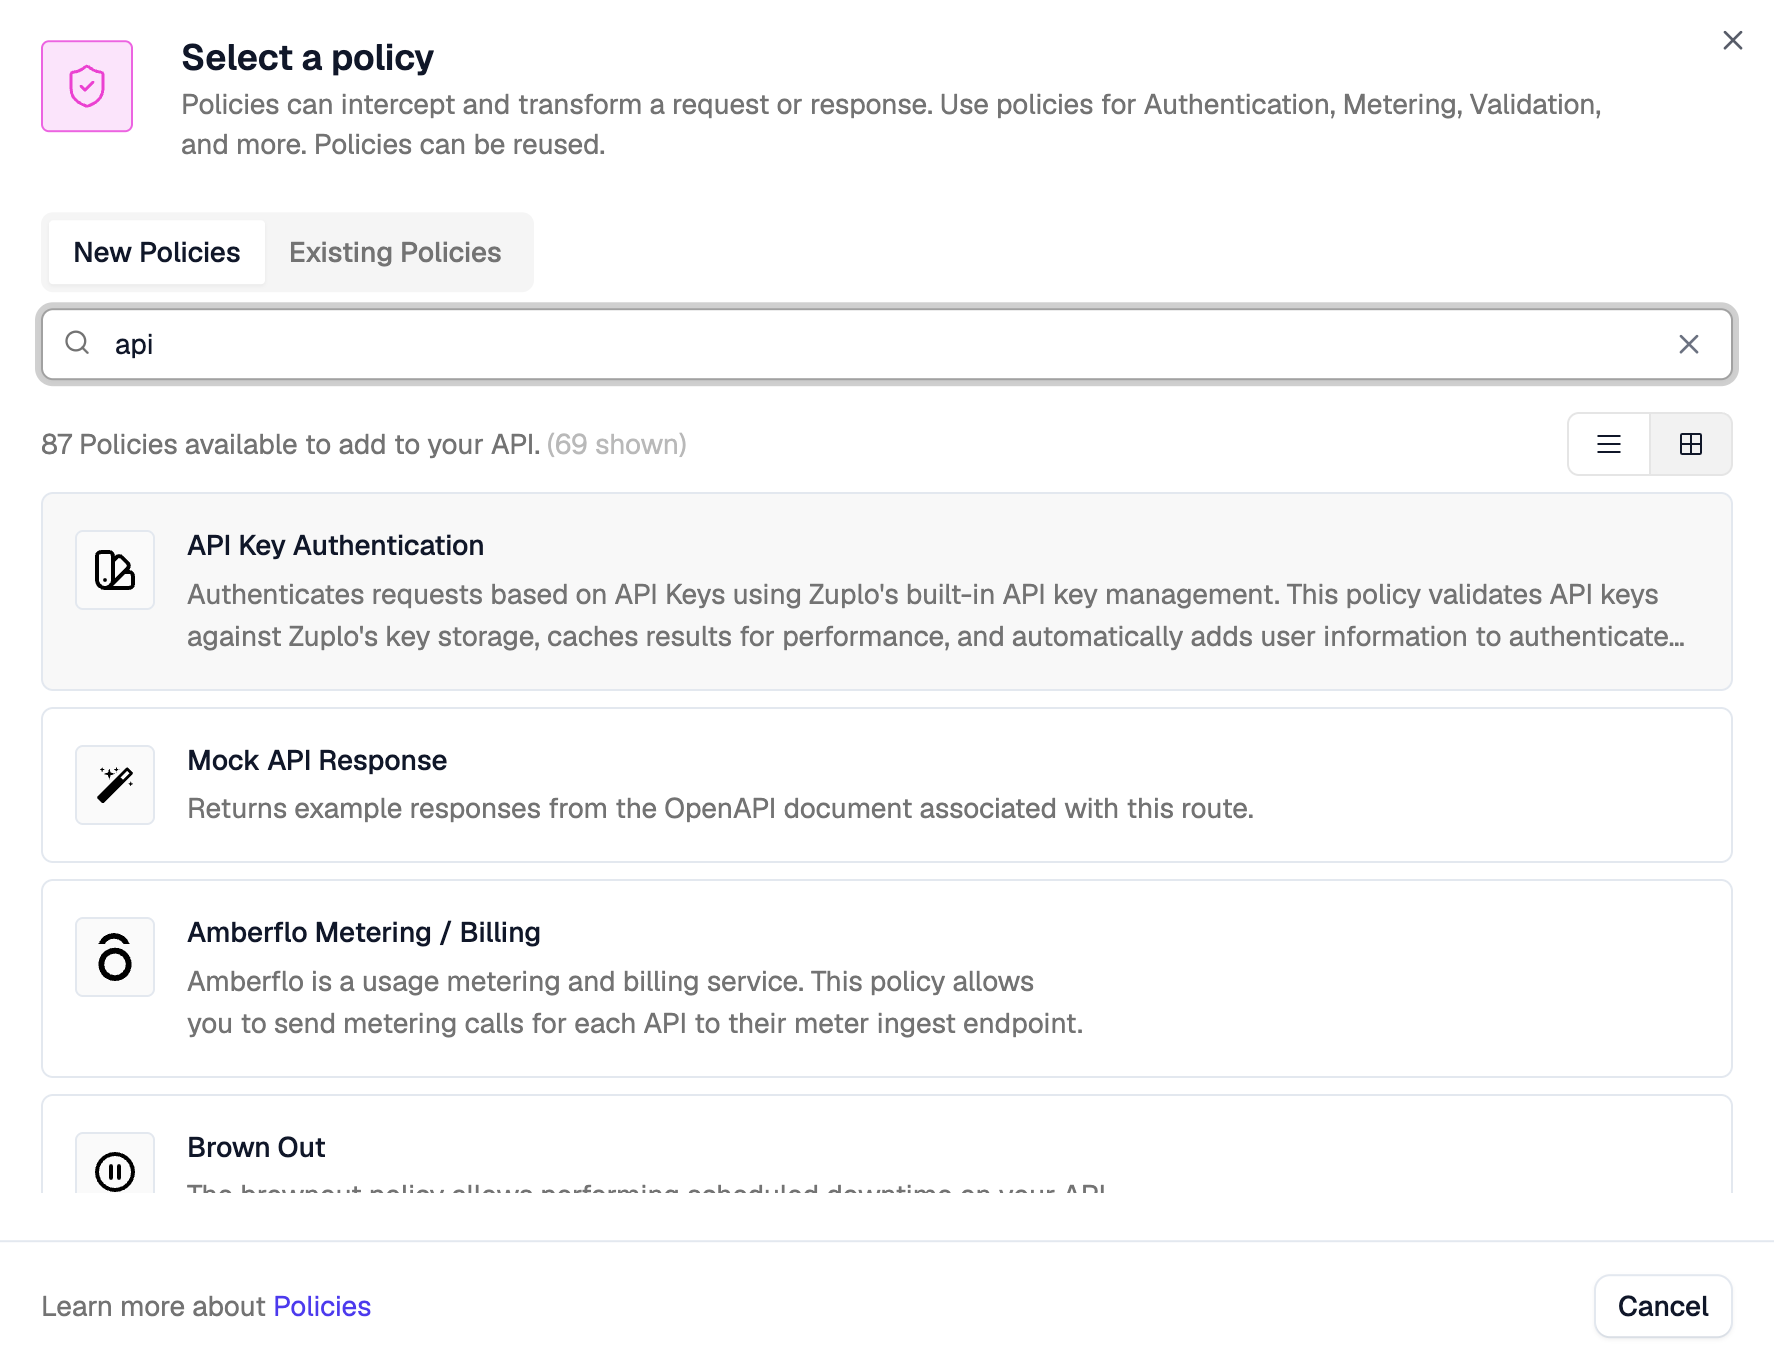
Keep this policy first in the inbound policy chain. On the same route, open Deny All Origins (CORS) and select Allow All Origins so the developer portal can call it from the browser. Save your changes.
In the code view, add
info.descriptionto the OpenAPI file and set it toGET /todos requires a bearer API key.Save again.Click Test next to the route's path and send a request without a key. Expect
401 Unauthorized. This step protectsGET /todos; apply authentication to other routes before using them for private data. -
Assign a key to a developer
Open Services → API Keys → Consumers. Select Dev and click Create Consumer. Set Subject to
tutorial-consumer, enter your email under Key managers, and leave Metadata as{}. Click Save consumer.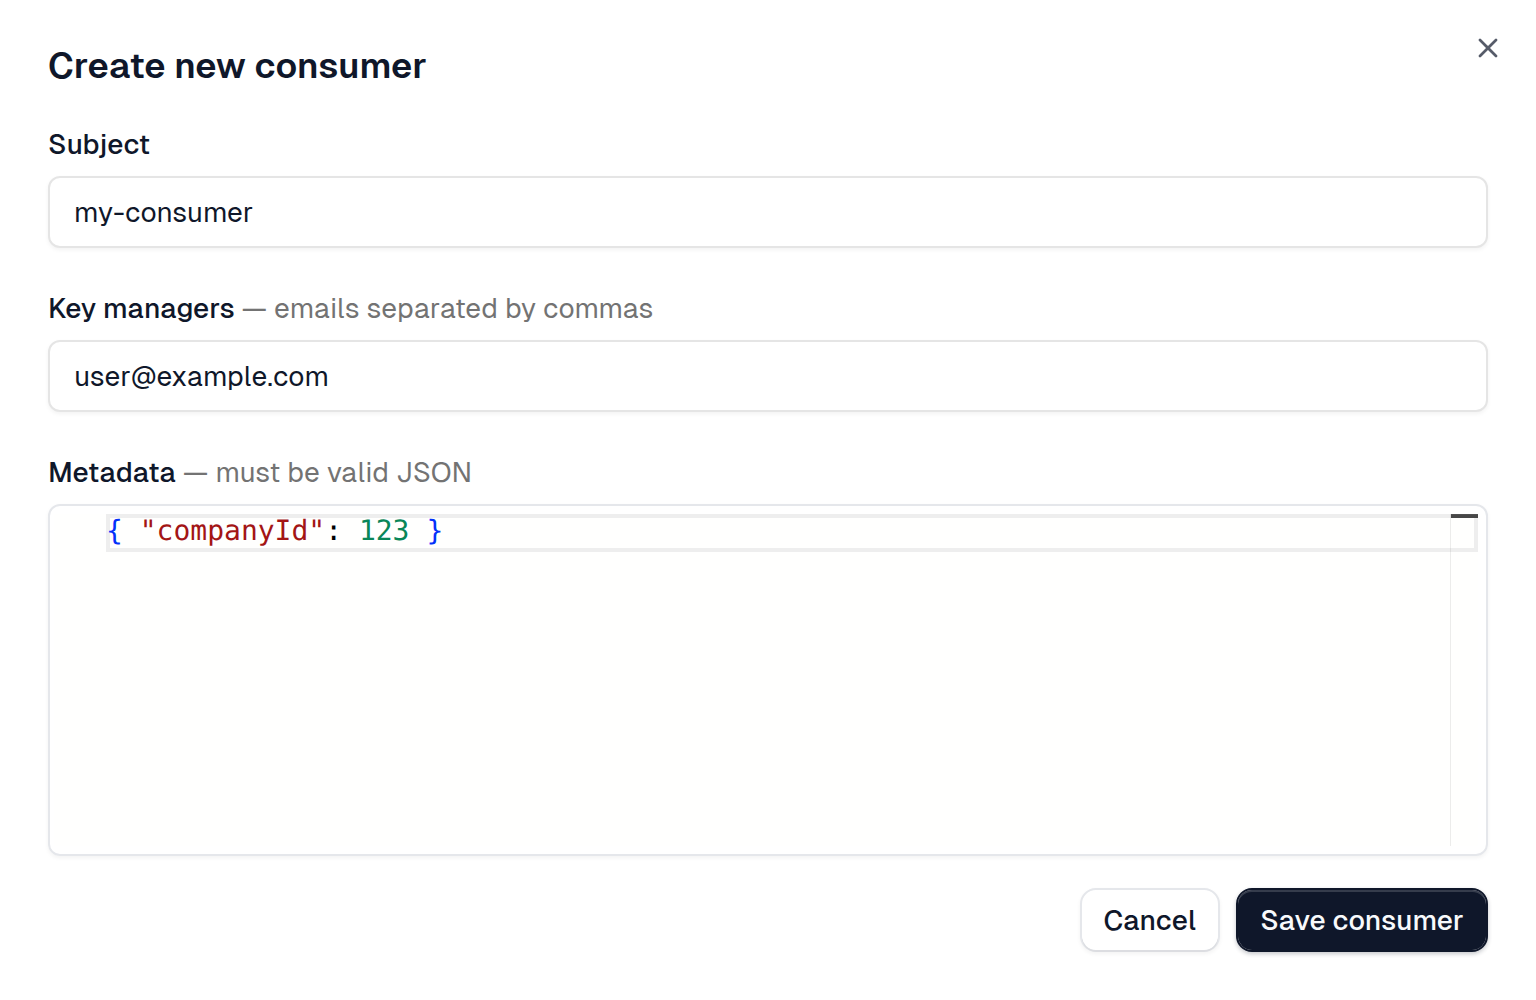
A key manager can manage the consumer's keys after signing in. Signing in doesn't create a consumer automatically. See API key management.
-
Open and test the developer portal
Open Deployment URLs and copy the Dev Portal URL for your working copy. Open it in a new tab. Visit
/introductionto check your new page.Sign in using the same email address you entered under Key managers. The template includes a demo sign-in provider for this tutorial. Open API Keys from your profile menu and confirm your consumer's key appears.
Open API Reference → List todos → Test. Expand Authentication, select
tutorial-consumer, and click Send. Expect200 OKand todos in the response. Select None under Authentication and send again: expect401 Unauthorized.If the key isn't listed, check the key manager email and that the consumer is in the Dev bucket. If the browser reports a CORS error, check that this route allows requests from the portal.
-
Deploy for other developers
Follow Deploy to the edge to connect your Git repository and deploy. Open Deployment URLs for the production deployment and copy its Dev Portal URL.
Create a consumer in the Prod API key bucket and repeat the signed-in request there. Dev and Production keys are separate.
Before inviting users, replace the demo login with your own authentication provider and configure CORS to allow your portal's origin.
Next steps
- Customize the theme.
- Create consumers on login if every signed-in user should receive a key automatically.
- Develop locally with live updates in your editor.